How to create animated GIFs for FREE in Screencastify
Animated GIFs are a great instructional tool. I use them often in the materials I prepare for teachers and students when I want to demonstrate something. You’ll find them scattered throughout my blog as well (this post included).
Making GIFs is easy (and free!) with Screencastify.
I’ve outlined the steps and a few tips below. If you’d prefer to learn via video, scroll down to the bottom of this post.
Step 1: Download the Screencastify Chrome Extension
Download the Screencastify Chrome Extension from the Chrome Web Store. Once you download the extension, you’ll see the icon appear on your Chrome browser bar. If not, click the puzzle piece on your browser bar to enable the extension.
Step 2: Launch the extension
Click the Screencastify icon in your browser bar to launch the extension.
Choose between recording a single browser tab or your entire desktop if you plan to go between tabs or apps. Turn off the microphone since GIFs don’t have sound. Since you probably don’t need to record your face for the GIF, you can disable the webcam as well.
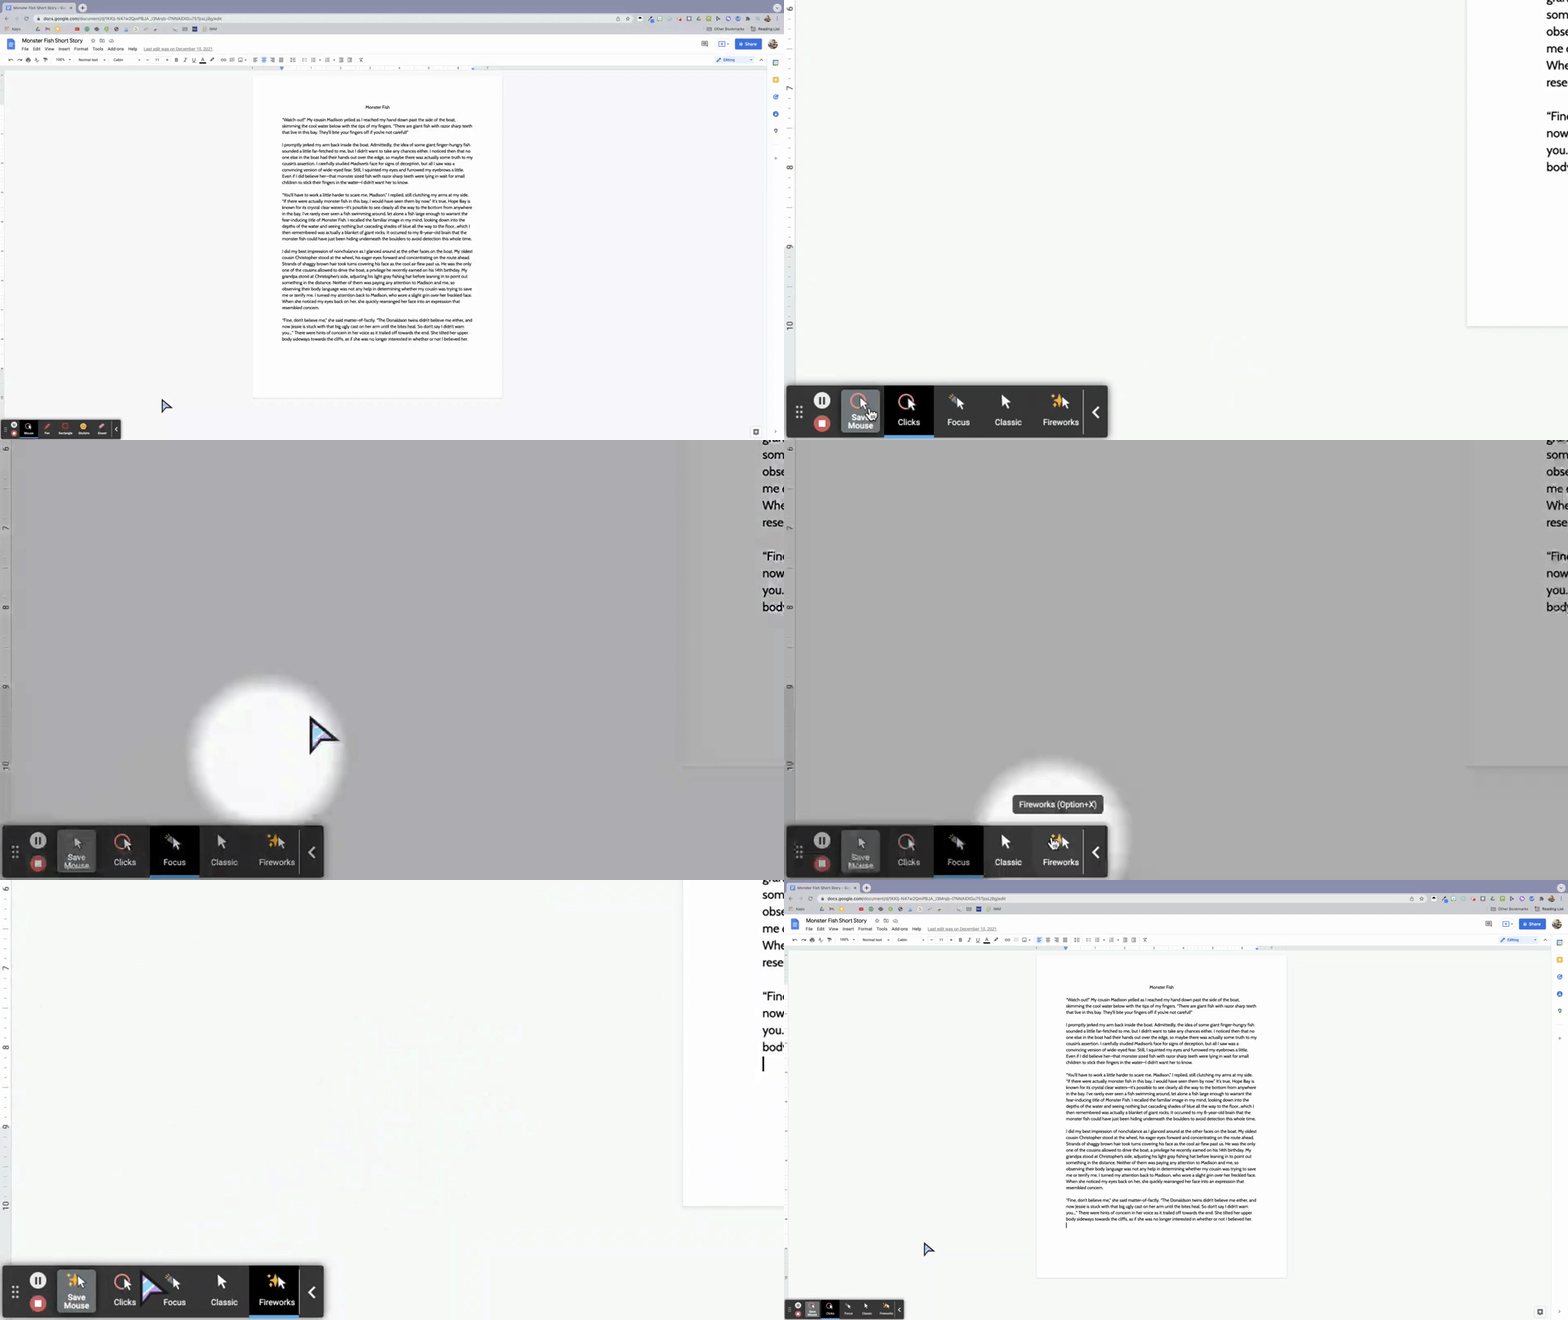
Click “Show more options” and select Show Drawing Tools. This will allow you to customize your cursor (as seen in the GIF below) or draw on the screen while recording. Using these tools can help students more easily follow along with the steps in your GIF.
Step 3: Record your video
Click the blue Record button to begin recording. You’ll record your steps as a video first, then convert it to a GIF when you’re done.
💡Tip: GIFs work best when they capture simple steps that total 30 seconds or less. Anything longer than 30 seconds would be better kept as a video.
Step 4: Edit your video
Once you are done recording, you can either leave the video as is or open the video editor.
Using the Screencastify video editor, you can
Cut the beginning and end of the video
Cut out a clip in the middle of the video
Crop the dimensions of your video
Zoom in on a specific part of your screen
I walk you through how to use each of these editing tools in my video here.
If you don’t plan on making any edits, skip to Step 5. However, I recommend at least using the Zoom tool (demonstrated in the GIF below) because it will make the specific steps in your GIF easier to see.
When you’re done making your edits, click the blue Export button. You can export to your hard drive or to Google Drive. I always opt for Google Drive. Once your video is done processing, click View Video.
Step 5: Export as a GIF
Click Download on the right hand side of your screen. Select Export Animated GIF. This will take a few seconds. At the moment, there is not an option to save the GIF directly to your Google Drive, so the GIF will be exported to your computer’s hard drive.
Once you have your GIF, you can upload it to Google Drive, share it with students in Google Classroom (or any other LMS), or add it to a Google Slides presentation. In Google Slides, click insert —> Image, then select the GIF you want to add.


