
Create Awesome Digital Blackout Poetry in Google Slides With These Quick Tips and Keyboard Shortcuts
Blackout poetry has been making its rounds in classrooms and on social media for several years now, and for good reason. This unique artistic form has opened up new avenues for students to engage with texts, allowing them to explore concepts like mood, symbolism, and theme in an interesting and creative way.
If you’re not familiar with blackout poetry, Scholastic has a great overview here. In short, students are given a passage of text to read. Then, they create a new piece of work by ‘blacking out’ certain lines of text while keeping others.
I’ve used this idea in my classroom several times and loved it every time. But here’s what I didn’t love:
using so. much. marker. ink.
marker stains all over our tables
ripping pages out of books (or feeling compelled to hoard old books ‘just in case’)
students not being able to edit/revise their work
That’s where digital blackout poetry comes in.

I love digital blackout poetry because it gives students flexibility to experiment with their poem’s aesthetic without worrying about making an irreversible mistake. Students can easily revise their work by making intentional decisions about text size, background color, object placement, etc. As an added bonus, digital blackout poetry means I can stop hoarding those old books and finally say goodbye to all those pesky marker stains on our tables.
Here are a few tips and keyboard shortcuts that will help you and your students create awesome digital blackout poetry in Google Slides:
Basic keyboard shortcuts every student should know
Ctrl + Z: Undo
Ctrl + Y: Redo
Ctrl + A: Select all text at once
Ctrl + Alt and +: Zoom in
Ctrl + Alt and -: Zoom out
Ctrl + Shift V: Paste without formatting; allows you to paste text onto your side without the original source formatting.
More keyboard shortcuts that make working with objects a breeze
Ctrl + Alt + G: Group objects together; helpful when you want to move, resize, or otherwise manipulate your objects all at once
Alt + Shift + Left Arrow: Rotate counterclockwise by 1°
Alt + Shift + Right Arrow: Rotate clockwise by 1°
Ctrl + Shift + Down Arrow: Send to Back; sends object backwards to reveal the hidden text underneath (looks really cool in blackout poetry!)
Ctrl + Shift + Up Arrow: Bring to Front; sends object forward to cover the text underneath
Other Helpful Tips for Students
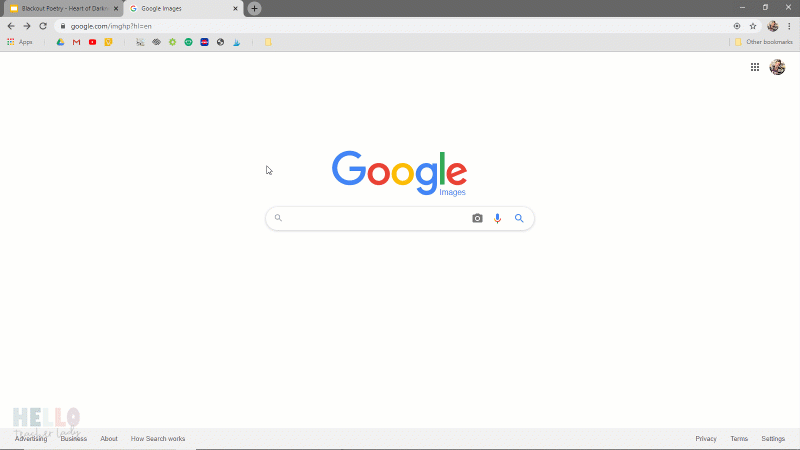
Filter Google images by usage rights: Select Tools ➞ Usage Rights ➞ Labeled for Reuse to return results labeled for reuse only
Filter Google images by color: Select Tools ➞ Color ➞ Transparent to return images with transparent backgrounds only